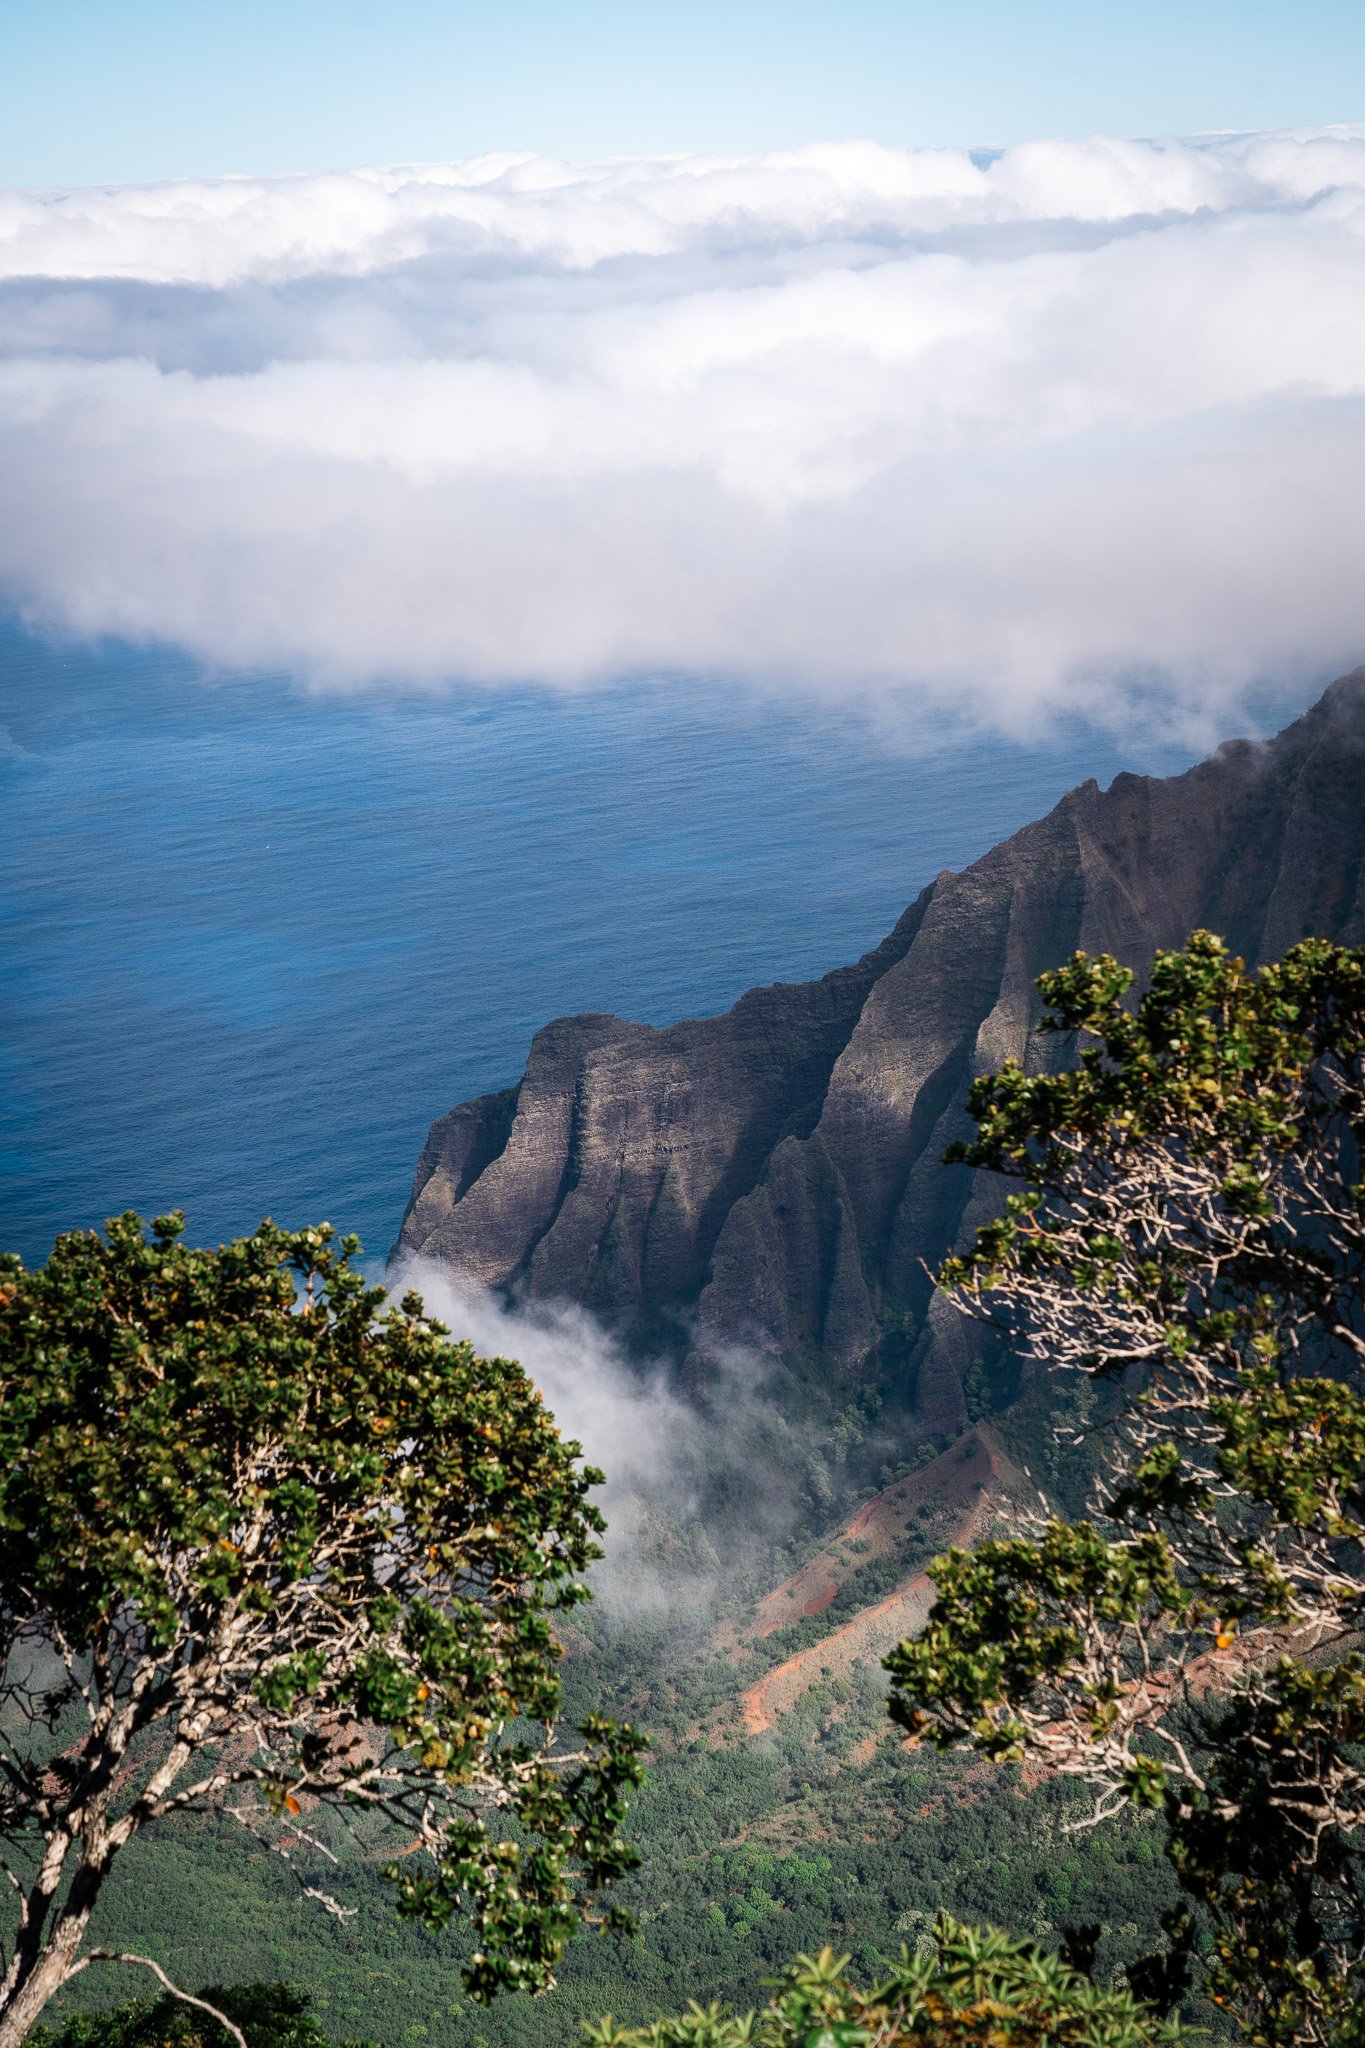
How to Use a Circular Polarizer Filter
So, you’ve heard that a circular polarizer filter is the essential filter for landscape photographers, ordered the latest PolarPro Circular Polarizer Filter, and stepped out into the great outdoors to capture some epic, saturated landscape photos. But then you look at your photos afterwards and realize that the sky is very blue. I mean very blue. And, not only that, it’s also creating a weird vignette as well. What gives?
Though it may seem easy enough to screw a filter onto our camera lenses, there is actually a pretty specific technique that you need to implement when using a Circular Polarizer filter. There are also certain outdoor conditions that work better with circular polarizer filters than others. Don’t worry if you tried snapping some photos with your new filter and got poor results. In this article, I break down how to use a circular polarizer filter so you can start snapping some epic landscape shots with incredible depth. Here we go:
The Technique
A circular polarizer filter uses the polarization from the sun to remove reflections from your scene. As such, you need to be positioned correctly in accordance to the sun to get the best results with the filter. To ensure you get a good polarization, make sure you stand with the sun at a 90-degree angle from your body / your lens. If you are facing the sun, or if the sun is behind you, the results can be a bit wonky.
Once you know the sun is relatively 90 degrees to your left or your right, you can then gently turn the lens. This will adjust the level of polarization in your image. The more you turn it, the more you will increase the saturation of your image and also remove more of the reflectiveness.
It takes some time to figure out where exactly to position yourself and how shifting your position relative to the sun affects the final image, but that’s half the fun. The best way to practise with a circular polarizer filter is to get out there, throw on the filter and start snapping photos!
The Right Conditions
Before you start snapping photos, though, you’re going to want to make sure the conditions are right. A circular polarizer requires a light source for the polarization to work. The best light source in landscape photography is, of course, the sun! For the best results, try and use the filter when it’s nice and sunny out. This will ensure that the polarization effect is at its best in your photos.
The one nice thing about circular polarizer filters is that, even though you may be photographing a landscape during harsh mid-day sunlight, the polarizer effect can actually make it look like your photos were shot more towards golden hour. I do realize the photos will obviously not look as warm as golden hour photos, but having the ability to snap photos during the middle of the day when the light is harsh and still have the final result come out nice and saturated with good contrast is a win. So, even if it’s the middle of the day, grab your circular polarizer and head out to take some shots! You will be amazed with the results.
Conclusion
Using a circular polarizer filter for the first time can be challenging. But, by positioning yourself at a 90-degree angle from the sun, you can ensure that the polarization in your images works correctly. All you need to do after that is make sure you turn the filter to the level of polarization that you’d like, and make sure that there is enough outdoor light to really help the filter work its magic.
