How to Make Mountains Look Larger in Your Travel Photos
If you’ve ever headed to an epic mountain landscape, stood beneath those giant peaks in awe, snapped a photo of them on your iPhone, and then wound up a bit disappointed by how tiny they look when you start editing them for your Instagram feed, you’re not alone. Mountains create a unique photography scene that is equal parts awe inspiring and difficult to capture correctly. Most smartphones today, such as the iPhone, are fitted with an extremely wide angle lens (iPhone 15 has a 24mm focal length). This helps the user capture a large amount of any scene easily, which should be beneficial for capturing an epic mountainous landscape, but, in capturing so much of the scene in the wide framing, the mountains actually start to look quite small. This is true on even the best mirrorless cameras as well. The wider the focal length, which is typical for large landscape shots, the smaller those epic mountain peaks look. But is there a way to actually make mountains look larger in your travel photos, and really provide the viewer with a sense of just how big and majestic those peaks really are? Let’s find out.
You’ve probably seen other travel photographers post photos of epic mountains from around the world on Instagram, and found yourself stopping on those images to take in the raw scale of the scene. These photographers are uploading their images onto Instagram in the small 4x5 aspect ratio just like everyone else, so why are their mountain scenes so much more commanding? Well, there are a few tricks you can implement in your landscape photography to make mountains appear larger in your photos. Some of these tricks require you to go against conventional landscape photography principals, while others just require you to rethink what’s in your framing. Either way, creating a sense of scale in your images is entirely possible, and it’s quite simple to do. To give you an idea, here are three ways you can make mountains look larger in your travel photos:

Compression is Your Friend
When we snap photos of epic landscapes like mountains, the tendency is to use a super wide focal length so that we can capture as much of the scene as possible. It is, after all, what we’re told to do in landscape photography. As mentioned above, however, a wider lens means more details enter your frame, and everything inside the frame shrinks to accommodate that.
To make mountains appear larger in photos, you actually need to zoom into them. This may seem counterintuitive, as the more you zoom into the mountain range, the less of the mountain range you’ll capture. But, by zooming into the mountain, you’ll create a good level of compression within your shot, helping the mountain actually pop a lot more in the frame.
This same concept is actually similar to portrait photography. Most portrait photographers steer clear of using a wide angle lens for their photos. Why? Because wide angle lenses tend to make their subjects’ faces appear long and narrow, often creating an unflattering look. That’s why the standard portrait focal length is 85mm. It’s zoomed in enough to create a good amount of compression, providing a more realistic photo of a person’s face, while also preventing their features from being elongated and distorted.
So next time you’re snapping a photo of some mountains, zoom in, and then zoom in a bit more. You may need to focus on one particular aspect of the mountain instead of the whole thing, but you’ll be surprised by how large the mountain appears in your frame. To give you an idea, the photo above was shot using a 75mm focal length.
Utilize the Foreground to Your Advantage
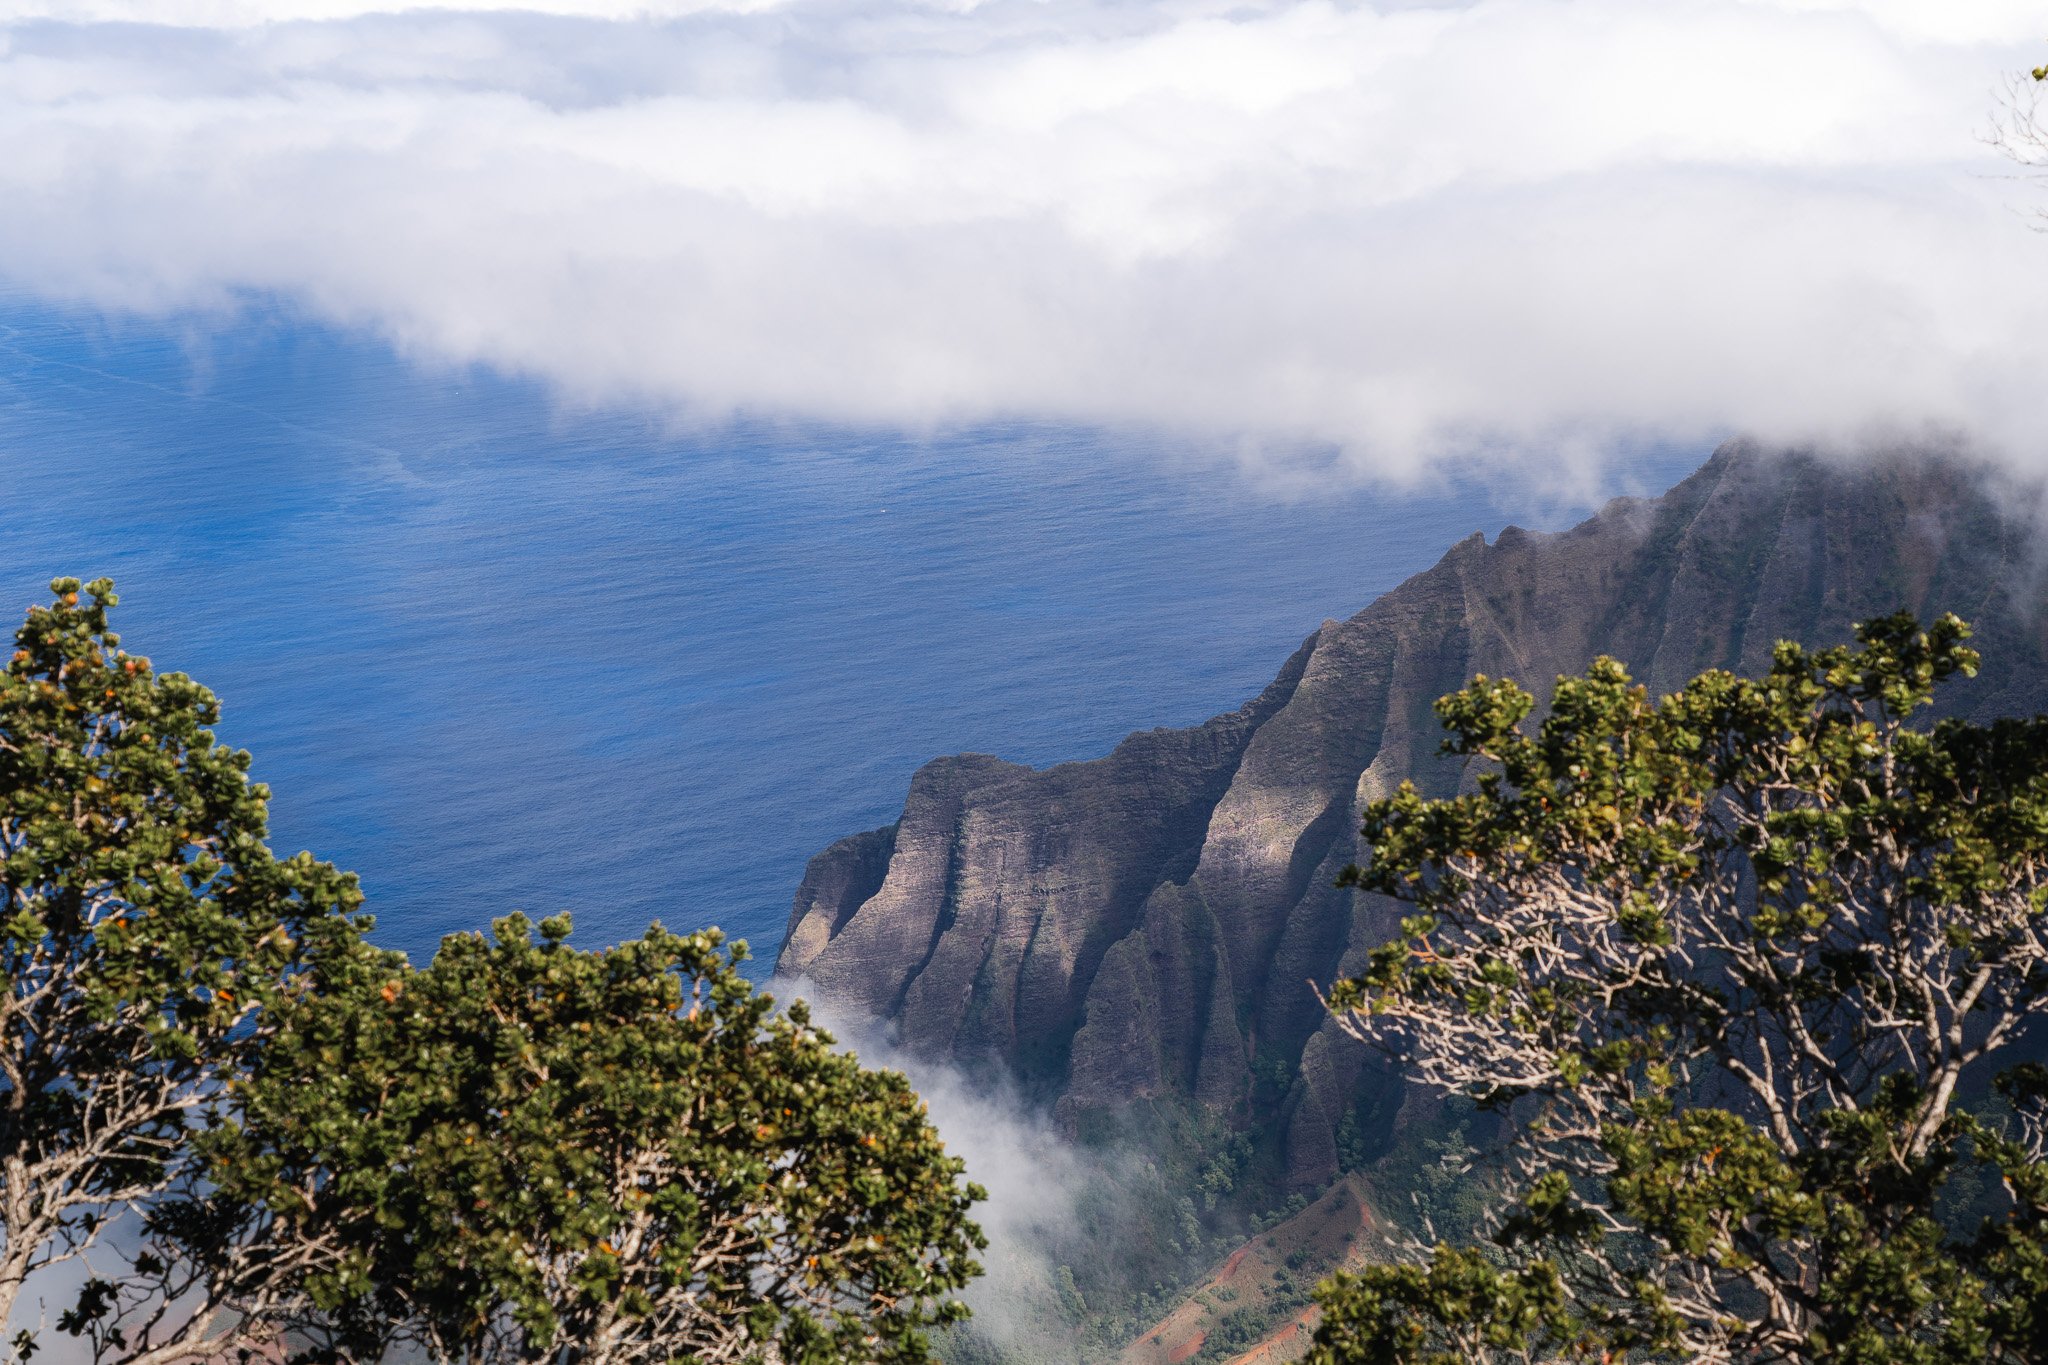
When landscape photographers snap photos of epic landscapes, particularly with mountains, we tend to capture unobstructed views of the scene to, again, show as much of the mountain range as possible. What this does, however, is limit the viewers ability to gain an understanding of the mountain’s scale from the image.
This can be alleviated, however, by intentionally incorporating some foreground elements into your framing. For example, if there are trees in front of you, try framing your image with them. This natural framing will not only lead your viewers eye towards the mountain in your image, but will also make it look bigger, as the contrast between the tree and its leaves compared to the giant scale of a mountain will become instantly apparent. This effect can also be amplified by zooming in and creating a level of compression between the foreground subject and the mountains, as seen in the image above. Note that this photo was also shot at a 63mm focal length (pretty zoomed in for a landscape shot!).
Insert a Subject into the Frame
Similar to the foreground idea above, placing a person within the frame can really show a mountain’s scale within an image. After all, it’s when we as humans stand in front of a mountain that we realize how large they are in comparison to us.
You can, of course, ask your travel companion to stand in the foreground of your image to help create some of that foreground separation noted above. But there is actually another way to incorporate people into your mountain photos that creates, in my opinion, a much more striking visualization of a mountain’s true scale.
For this to work, you need your subject to move quite a bit away from you towards the mountain. This can be somewhere in the mid ground. What you’ll notice in your images is that, as the subject moves closer and closer to the mountains, they become smaller and smaller. This is true for mountainous images that are shot with ultra wide focal lengths, and even zoomed in ones, as noted above.
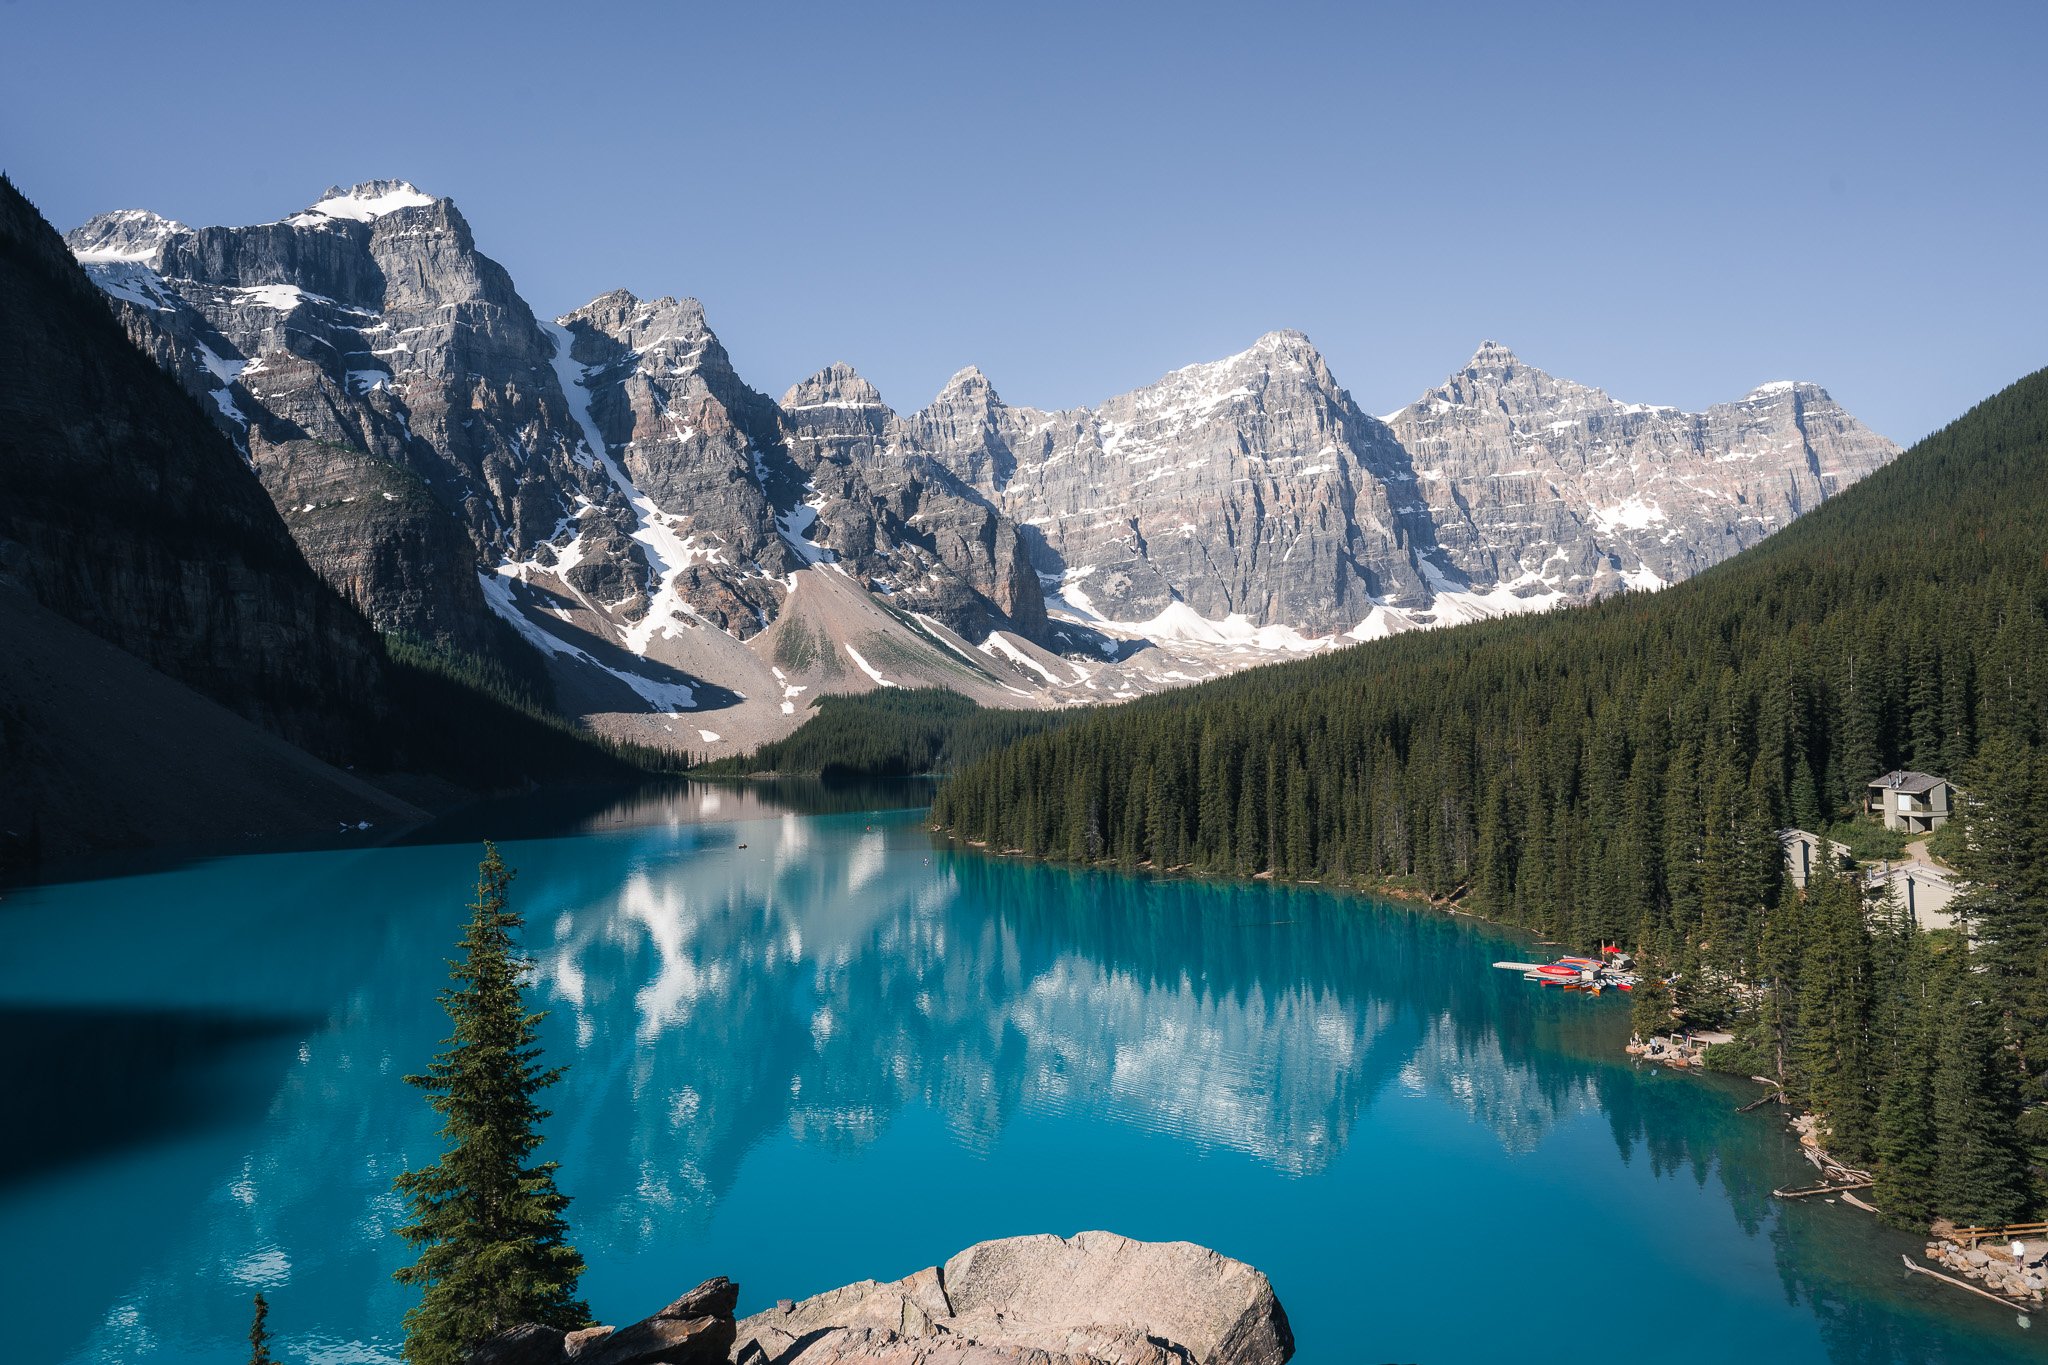
As your subject becomes smaller and smaller in the image, it becomes easier for the viewer to see, in comparison to the size of a human, how large the mountains actually are. Take a look at the photo above and see if you notice anything. If it just looks like a photo of Moraine Lake, try and spot the canoes with people paddling around the lake. Once you realize that there are actually numerous people in the frame, you immediately get a sense of the mountain range’s actual size.
Conclusion
As travel photographers, photographing epic mountain scenes is equal parts incredible and challenging. While following conventional landscape photography wisdom by using an ultra wide focal length can help capture as much of the mountain scene as possible, the resulting images can actually make the images appear much smaller than they should be. To combat this, try zooming into the mountains and utilizing some foreground elements to help create a nice level of compression in your shots. If you can, try incorporating a person into the frame as well to really give a sense of the mountain’s scale. If at all possible, try combining all three of these tips and tricks into your mountain photos. They truly can help make mountains larger in your travel photos.